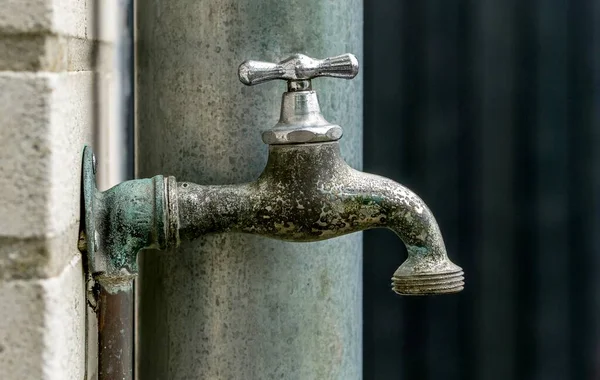
Faucet corrosion is a common issue that many homeowners face. Over time, faucets can develop a buildup of rust, mineral deposits, or other types of corrosion. Not only does this affect the appearance of the faucet, but it can also lead to functional problems if left untreated. It is important to clean faucet corrosion to ensure the longevity and proper functioning of your faucet.
Why is it Important to Clean Faucet Corrosion?
Cleaning faucet corrosion is essential to maintain the functionality of the faucet. When corrosion occurs, it can lead to blockages and reduced water flow, resulting in inefficient water usage. Regularly cleaning the corrosion ensures that your faucet operates smoothly and effectively.
Moreover, faucet corrosion can have a negative impact on the quality of the water that flows through it. Corroded faucets have the potential to contaminate the water with rust and other harmful substances, posing a safety risk for consumption. By cleaning regularly, you can maintain the cleanliness and purity of the water that comes out of the faucet, ensuring it remains safe for use.
How to Clean Faucet Corrosion
Roll up your sleeves and let’s get those faucets shining again!
Prepare the Cleaning Solution
Gather the necessary tools: You will need a bucket or basin, white vinegar, baking soda, a toothbrush or small brush, and a soft cloth.
Measure out the cleaning solution: Mix equal parts white vinegar and water in the bucket or basin. For example, if you use 1 cup of vinegar, add 1 cup of water.
Dissolve baking soda: Add a small amount of baking soda to the vinegar and water mixture. Stir it well until the baking soda is fully dissolved. Baking soda helps remove stubborn stains or mineral buildup.
Disassemble the Faucet
Turn off the water supply: Before you begin disassembling the faucet, make sure to turn off the water supply valves located under the sink.
Remove the handle: Use a screwdriver or Allen wrench to remove the screw holding the faucet handle in place. Once the screw is removed, gently pull off the handle.
Unscrew the cartridge: Depending on the type of faucet, there may be a cartridge or valve inside that controls the water flow. Use pliers or a wrench to unscrew the cartridge from the faucet body.
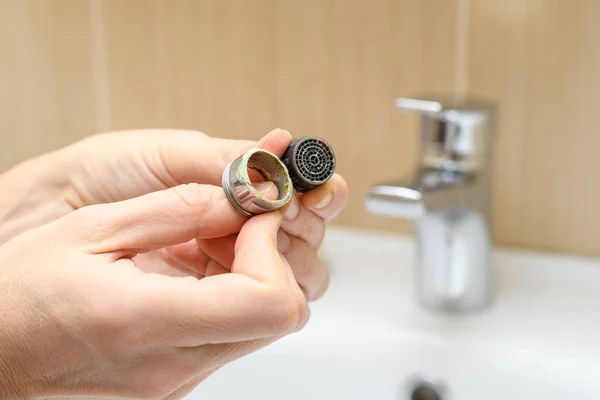
Take out the aerator: The faucet aerator is located at the tip and can be removed by twisting it counterclockwise. Soak the aerator in vinegar to remove any mineral buildup.
Clean the components: Using a brush or cloth, gently scrub the inside of the faucet body, cartridge, and other removable parts with vinegar or a mild soap solution. Remove any debris or sediment that has accumulated.
Rinse and dry: Thoroughly rinse all the components with clean water to remove any cleaning residue. Dry them with a clean cloth to prevent any water spots or corrosion.
Clean the Faucet Components
- Thoroughly clean the faucet components by using the cleaning solution.
- Dip the soft brush or toothbrush into the solution and gently scrub the handle, spout, and other components to eliminate any dirt, grime, or corrosion. Pay close attention to areas where water flows and hard-to-reach corners.
- Ensure all residue from the cleaning solution is removed by washing the faucet parts with clean water.
- After cleaning, completely dry the faucet components using a clean cloth.
- This step is crucial to prevent the formation of water spots or mineral deposits.
Rinse and Dry the Faucet Parts
- Ensure that all water has been removed from the parts to prevent any water spots or streaks from forming.
- Allow the faucet parts to air dry completely before reassembling the faucet. This will ensure that there is no moisture trapped, which can lead to corrosion or other damage over time.
- Once the parts are dry, carefully reassemble the faucet following the appropriate steps.
Reassemble the Faucet
- Place the clean components in front of you, ensuring that you have all the parts that were disassembled earlier.
- Begin by inserting the cleaned cartridge back into the valve body, making sure it is properly aligned and seated.
- Align the handle with the stem and secure it in place by attaching it to the cartridge.
- Carefully reattach the spout to the body of the faucet, ensuring proper alignment and tightening.
- To hold the faucet components together, use necessary tools such as a wrench or pliers to tighten any screws or connections.
- Thoroughly inspect the faucet to ensure that all connections are secure and properly tightened.
- Test the faucet for leaks or irregularities by turning on the water supply.
- Once you have confirmed that everything is functioning properly, clean up any remaining water or debris in the faucet area.

When to Seek Professional Help
If you notice severe and widespread corrosion on your faucet, it is recommended to seek professional help. Professional plumbers possess the expertise and tools required to effectively address extensive corrosion issues.
Limited knowledge or experience is also an obvious sign that you need expert help. If you are uncertain about how to tackle faucet corrosion or lack the necessary experience, it is advisable to consult a professional. They can provide guidance on the best course of action and ensure that the corrosion is addressed correctly.
If you are in Minneapolis, Minnesota and need professional cleaning help, do not hesitate to contact us at Ivy Cleans and let our team handle it – whether it’s residential or commercial property.
