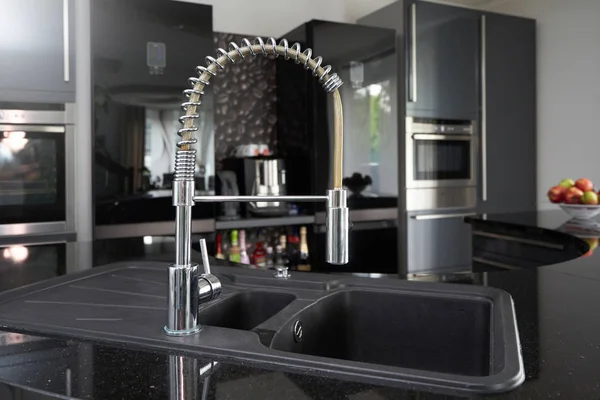
Keeping your pull-down kitchen faucet spray head clean is essential for maintaining good functionality and hygiene in your kitchen. A dirty spray head can harbor bacteria, affect water flow, and even lead to unpleasant odors. Regularly cleaning the spray head can help ensure a smooth and efficient operation of your faucet.
In this article, we will guide you through the step-by-step process of cleaning a pull-down kitchen faucet spray head to keep it in pristine condition. We will also discuss why cleaning the spray head is important and provide tips for maintaining its cleanliness and functionality.
Why is Cleaning the Spray Head Important?
- It helps maintain the efficiency of the faucet. Over time, mineral deposits and debris can accumulate in the spray head, leading to clogs or restrictions in water flow. By regularly cleaning the spray head, you ensure that water can flow freely, allowing for efficient use of the faucet.
- Cleaning the spray head is crucial for maintaining hygiene in your kitchen. The spray head often comes into contact with food particles and bacteria, creating a potentially unhygienic environment. Regular cleaning helps prevent the growth of harmful bacteria and promotes a clean and safe kitchen environment.
- Clean spray head ensures optimal functionality of your faucet. It helps maintain the appropriate water pressure and spray patterns for different tasks, such as rinsing dishes or filling pots. This ensures that your faucet performs at its best, providing you with the convenience you need in the kitchen.
- Regular cleaning of the spray head helps prolong its lifespan. By removing mineral deposits and debris, you prevent any potential damage or deterioration that could lead to costly repairs or the need for a replacement. Taking care of your spray head through proper cleaning practices ensures that it remains in good condition for an extended period.
How to Clean a Pull-Down Kitchen Faucet Spray Head
Get your cleaning supplies ready, it’s time to give that spray head a fresh start.
Gather Your Materials
When cleaning a pull-down kitchen faucet spray head, it’s important to gather all the necessary materials beforehand to make the process more efficient and effective.
- A bowl or container
- Vinegar
- Water
- Brush or toothbrush
- Soft cloth or sponge
Suggestions to consider:
- Ensure the bowl or container is large enough to fully submerge the spray head.
- Use white vinegar for its cleaning properties.
- Avoid using abrasive materials that can damage the spray head.
- Prepare a soft cloth or sponge for wiping down the spray head after cleaning.
Remove the Spray Head from the Hose
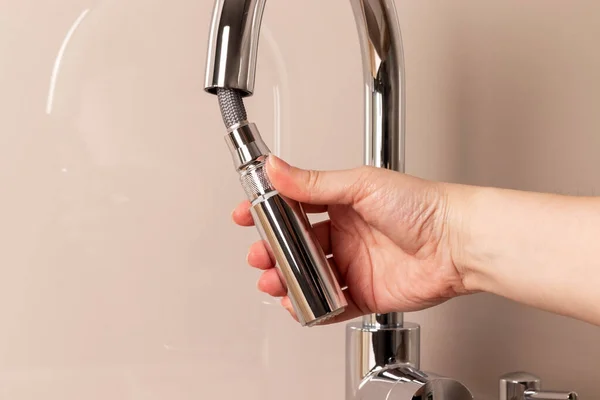
- Start by turning off the water supply to the faucet. This will prevent any water from spraying out while you’re working on removing the spray head.
- Remove the Spray Head from the Hose
- Locate the connection point where the spray head is attached to the hose. This is usually a threaded connection or a clip that holds the spray head in place.
- Depending on the type of connection, you may need to twist the spray head counterclockwise or squeeze the clip to release it. If it’s a threaded connection, use a pair of pliers to help you unscrew the spray head.
- Once the spray head is loosened, gently pull it away from the hose. Be careful not to pull too hard to avoid damaging the hose or other parts of the faucet.
- Inspect the spray head and hose for any debris or buildup. This is a good time to clean both parts if needed.
Soak the Spray Head in Vinegar Solution
- Place the spray head in a solution of equal parts white vinegar and warm water. Allow it to soak for 30 minutes to an hour to effectively dissolve mineral deposits and eliminate any buildup.
- After soaking, use a toothbrush or a small brush with soft bristles to gently scrub the nozzles and eliminate any remaining dirt or debris from the spray head.
- Rinse the spray head thoroughly with warm water to ensure any vinegar residue is completely removed. Ensure that all the nozzles are clean and unobstructed.
Scrub with a Brush
- Use firm but gentle strokes to remove any dirt or mineral deposits that may be stuck on the spray head. Make sure to scrub all sides and crevices thoroughly.
- If necessary, you can also use a mixture of baking soda and water to create a paste and apply it to stubborn stains. Let it sit for a few minutes before scrubbing again.
- Rinse the spray head with clean water to remove any vinegar or cleaning residue. Ensure that all traces of the cleaning solution are completely washed away.
Rinse and Reattach the Spray Head
- Ensure that the spray head is aligned properly and facing the desired direction for optimal functionality.
- Tighten the spray head snugly, but be careful not to overtighten, as this could damage the threading.
- Turn on the water supply to test the spray head. Check for any leaks or irregular water flow.
- If everything appears to be working correctly, your cleaning process is complete.
To maintain a clean and functional spray head, it is recommended to perform regular cleaning and maintenance. This will help prevent the buildup of debris and mineral deposits that can affect the performance of the spray head. Avoiding abrasive cleaning agents or tools and using mild solutions will prolong the lifespan of the spray head.
If you’re residing in Minnesota or its vicinity, please feel free to reach out to us. Allow our Ivy Cleans representative to be of service and assist you in your general cleaning needs.
