When it comes to maintaining the cleanliness and appearance of tile floors, grout plays a crucial role. Grout is the cement-like material that fills the gaps between tiles, providing stability and preventing moisture from seeping underneath the tiles. Over time, grout can become dirty and discolored due to various factors such as foot traffic, spills, and general wear and tear. Understanding grout and why it gets dirty is essential to effectively clean and maintain tile floors.
Cleaning grout on tile floors can be accomplished through various methods. Two common approaches are using homemade grout cleaners and commercial grout cleaners. Homemade solutions often involve ingredients like baking soda, vinegar, hydrogen peroxide, or a mixture of these, while commercial cleaners are specifically formulated for deep cleaning grout.
Common Methods for Cleaning Grout
Tackling dirty grout on tile floors? Look no further! In this section, we’re exploring the most effective methods for cleaning grout. From homemade cleaners to commercial solutions, we’ve got you covered. Discover the secrets to restoring the sparkle and shine of your grout, with handy tips and tricks that are sure to make your floors gleam. Say goodbye to grime and hello to a pristine tile surface!
Homemade Grout Cleaners
1. To make Homemade Grout Cleaners, mix equal parts of baking soda and water to create a paste. Apply the paste to the grout lines and scrub using a brush or sponge. Rinse with water after scrubbing.
2. Another option for Homemade Grout Cleaners is to mix equal parts of vinegar and water in a spray bottle. Spray the solution onto the grout lines and let it sit for a few minutes to loosen the dirt. Scrub the grout with a brush or sponge and rinse with water.
3. You can also create a Homemade Grout Cleaner by mixing hydrogen peroxide and baking soda to create a paste. Apply the paste to the grout lines and let it sit for 10-15 minutes. Scrub the grout with a brush or sponge and rinse with water.
4. For a natural Homemade Grout Cleaner, squeeze fresh lemon juice onto the grout lines and sprinkle baking soda over it. The mixture will foam up. Scrub the grout with a brush or sponge and rinse with water.
5. Another homemade solution for cleaning grout is to make a paste by mixing salt and vinegar. Apply the paste to the grout lines and let it sit for a few minutes. Scrub the grout with a brush or sponge and rinse with water.
Remember to always test these Homemade Grout Cleaners on a small, inconspicuous area first to ensure they do not damage the grout or surrounding tiles. Proper ventilation is recommended when using vinegar or hydrogen peroxide.
How to Clean Grout on Tile Floors
Get ready to transform the look of your tile floors with our step-by-step guide on how to clean grout. We’ll show you exactly how to prepare the area, tackle the tough grout lines with scrubbing techniques, and leave your floors sparkling by effectively rinsing and drying the surface. Say goodbye to grimy grout and hello to a fresh, revitalized floor. Let’s dive right in and bring that new floor shine back to life!
Preparing the Area
To prepare the area for cleaning the grout on tile floors, follow these steps:
- Clear the area: Remove any furniture or objects from the tiled floor to create a clear space.
- Sweep or vacuum: Use a broom or vacuum cleaner to eliminate any loose dirt, dust, or debris from the tiles and grout lines.
- Pre-treat stains: If there are any stubborn stains on the grout, apply a grout stain remover or a mixture of baking soda and water to the affected areas. Allow it to sit for a few minutes before proceeding.
- Protect nearby surfaces: Cover adjacent surfaces or baseboards with plastic or tape to prevent any cleaning solution or debris from splashing or damaging them.
- Gather cleaning supplies: Prepare all the necessary cleaning supplies such as a grout brush, mild detergent, warm water, and a bucket.
Pro-tip: Before starting the cleaning process, it’s a good idea to test the cleaning solution on a small, inconspicuous area of the grout to ensure it doesn’t cause any discoloration or damage. This will help you determine if the solution is safe to use on the entire grout area.
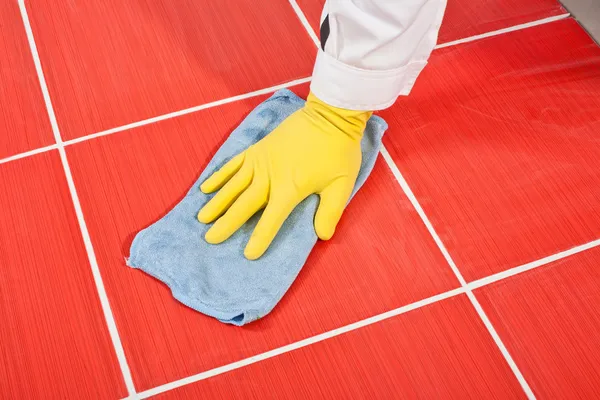
Scrubbing the Grout
To efficiently scrub the grout on tile floors, carefully follow these steps:
- Prepare the area by first eliminating any loose dirt or debris from the floor. Sweeping or vacuuming the floor will guarantee a clean surface.
- Formulate a natural grout cleaner by combining equal parts water and vinegar, or water and baking soda. Alternatively, you can opt for a commercial grout cleaner that is specifically designed to remove dirt and stains from grout.
- Directly apply the cleaning solution onto the grout lines. Utilize a grout brush or a brush with stiff bristles to vigorously scrub the grout. Pay extra attention to areas with stubborn stains and dirt accumulation.
- When scrubbing the grout, use a back-and-forth motion. Apply sufficient pressure to eliminate the dirt and stains, but exercise caution to avoid damaging the tile surface.
- Rinse the area with clean water to remove the cleaning solution and loosened dirt. For a thorough rinse, you can employ a mop or a sponge.
- Dry the area using a clean towel or allow it to air dry. Ensure you refrain from stepping on the wet grout until it is completely dry, in order to prevent any further dirt or stains.
By adhering to these steps, you will effectively scrub the grout on your tile floors, leaving them looking pristine and fresh. Remember to regularly maintain your grout to prevent the accumulation of dirt and stains.
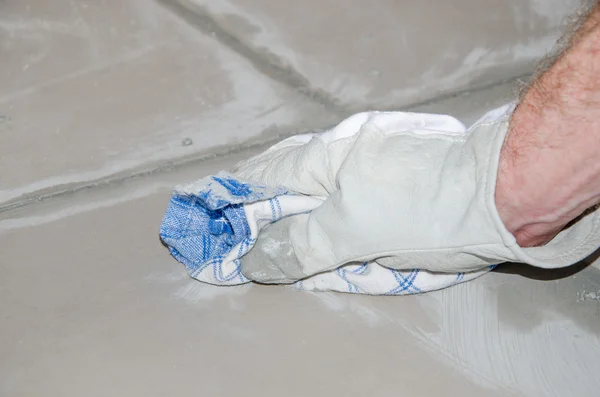
Rinsing and Drying the Area
To ensure thorough rinsing and drying of the area after scrubbing the grout on tile floors, carefully follow these steps:
- Prepare a bucket filled with fresh, clean water.
- Immerse a clean sponge or mop into the bucket, allowing it to soak up the water.
- Begin wiping the grout lines with the damp sponge or mop, starting from one corner of the tiled area.
- Regularly dip the sponge or mop in the bucket to eliminate dirt and grime, as you progress.
- Keep wiping the grout lines until all remnants of the cleaning solution and dirt have been eradicated.
- Give special attention to corners and edges where grime may collect.
- After cleaning the grout lines, use a dry, clean cloth or towel to thoroughly dry the area.
- Be sure to eliminate any excess moisture to prevent water spots or potential staining.
Fact: The proper rinsing and drying of the area after grout cleaning is crucial for removing any lingering dirt, cleaning solution, or residue. This not only enhances the appearance of the grout but also helps maintain its cleanliness for extended periods.
Tips for Maintaining Clean Grout
Maintaining clean grout is essential for the longevity and aesthetic appeal of your tile floor. In this section, we’ll uncover some valuable tips to help you achieve and preserve pristine grout lines. From regular maintenance cleaning techniques to the importance of sealing the grout, we’ve got you covered. Get ready to discover practical advice that will keep your grout looking flawless and your tile floor shining for years to come. No more hassle, just a beautifully clean and well-maintained floor.
Regular Maintenance Cleaning
Regular maintenance cleaning is crucial for maintaining the cleanliness and vibrancy of the grout on tile floors. Here are some helpful tips to assist you in keeping your grout clean:
- Make sure to sweep or vacuum the floor regularly to eliminate any dirt and debris that may become trapped in the grout lines.
- Create a solution using warm water and mild detergent or a specifically formulated grout cleaner designed for regular maintenance cleaning. Follow the dilution ratios provided by the manufacturer.
- Take a soft-bristled brush or a grout brush and gently scrub the grout lines. Apply the cleaning solution to the brush and scrub in a circular motion.
- Thoroughly rinse the area with clean water to eliminate any residue left by the cleaning solution.
- To prevent water stains or grout damage, make sure to completely dry the floor using a clean towel or mop.
- Consider using a grout sealer after cleaning to give extra protection against moisture and stains. Carefully follow the instructions provided with the sealer product.
By incorporating regular maintenance cleaning into your cleaning routine, you can prolong the lifespan of your grout and preserve the fresh and clean appearance of your tile floors.
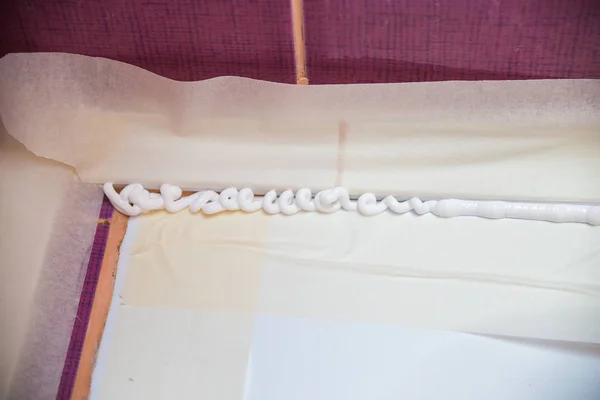
Sealing the Grout
To properly seal the grout on your tile floors, follow these steps:
- Clean the grout thoroughly: Before sealing the grout, make sure it is clean and free from any dirt, stains, or debris. Use a grout cleaner or a mixture of baking soda and water to scrub the grout lines.
- Allow the grout to dry: After cleaning, give the grout ample time to dry completely. This usually takes at least 24 hours but may vary depending on the humidity and temperature in your area.
- Apply the sealer: Choose a quality grout sealer that is suitable for your specific type of tile and grout. Using a paint brush or roller, apply an even coat of sealer to the grout lines, ensuring complete coverage.
- Wipe off excess sealer: After applying the sealer, wait for the recommended time indicated on the product label. Then, using a clean cloth or sponge, wipe off any excess sealer from the tile surfaces. Avoid leaving any residue or streaks.
- Allow the sealer to cure: Let the sealer dry and cure according to the manufacturer’s instructions. This curing period ensures maximum effectiveness and durability of the sealed grout.
Fact: Sealing the grout helps create a protective barrier that prevents stains, dirt, and water from penetrating the grout lines. This not only keeps your grout looking cleaner but also extends its lifespan, saving you time and effort in the long run.
Book with us today and let our team handle your cleaning needs. Ivy Cleans is here to help you whether it is residential or commercial cleaning needs.
